

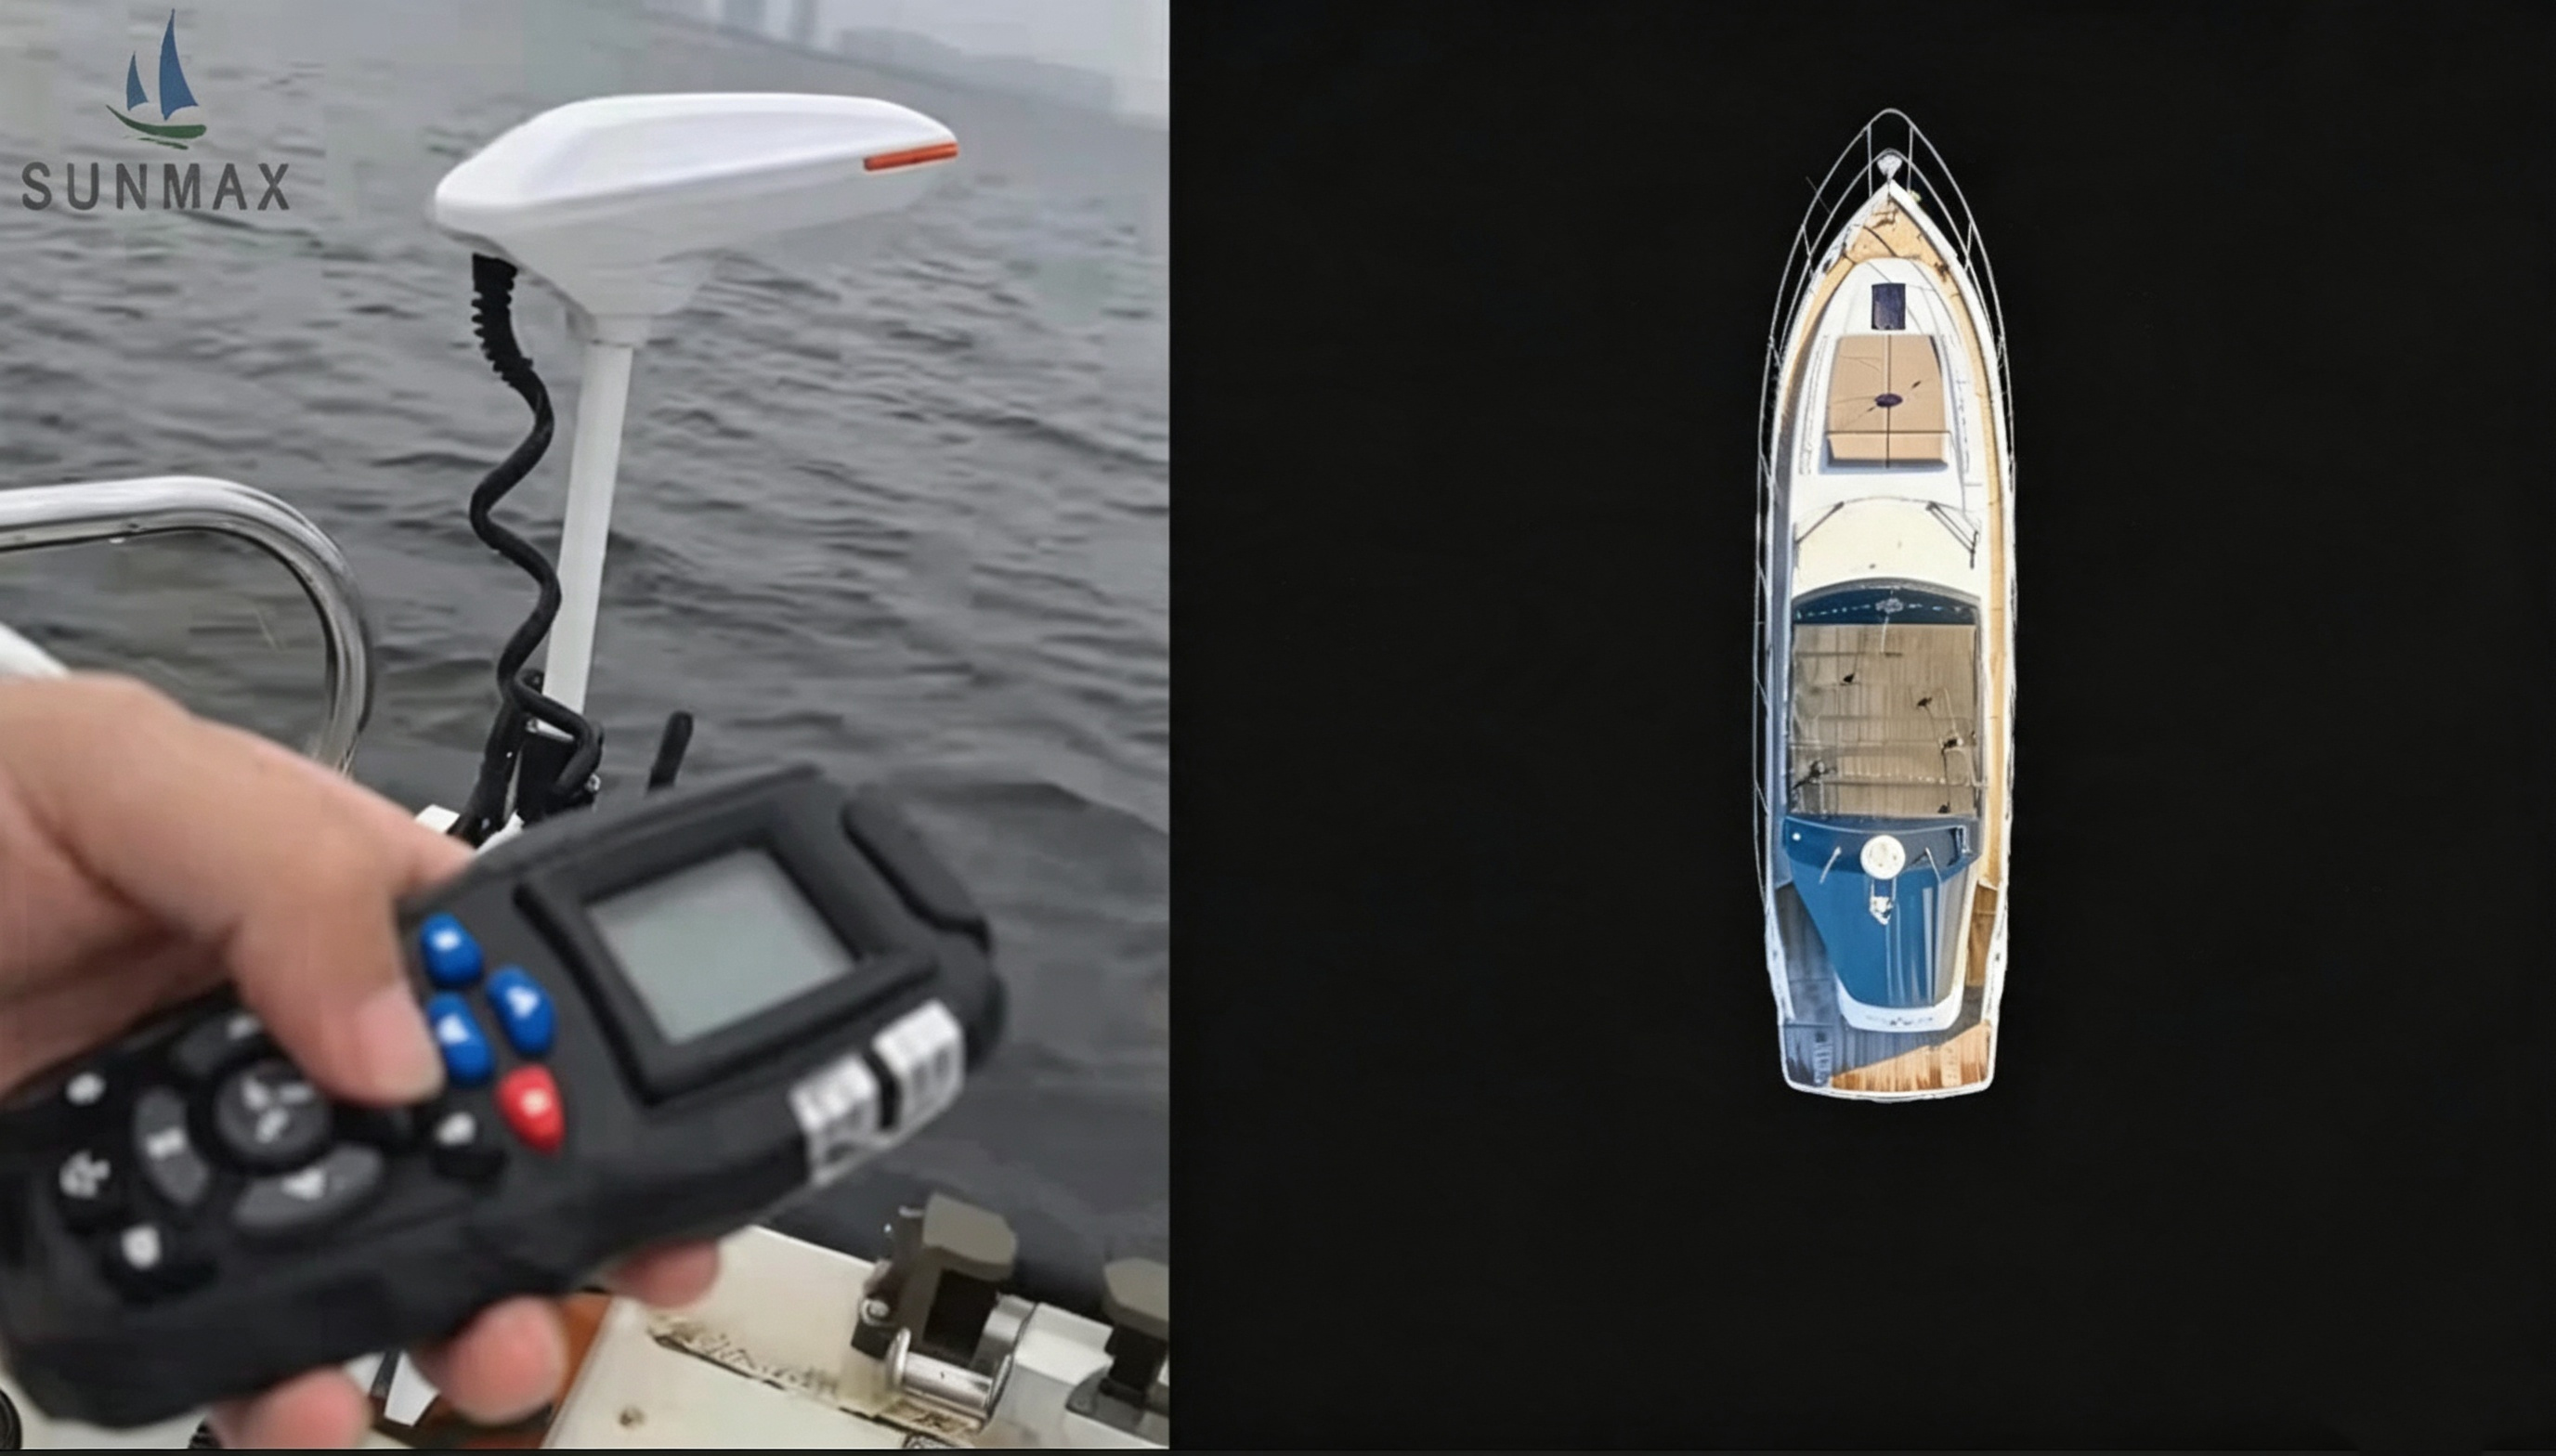
This official step-by-step calibration guide covers all Haibo iPenguin P Series GPS bow mount trolling motors (P65/P70/P90/P120+/P125). It explains the function, applicable models and full operation process of three core calibration items: boat magnetometer calibration, external magnetometer calibration and boat heading calibration. Whether you are a new user completing first water debugging or an old fisherman solving anchor drift, heading deviation and GPS route offset problems, this tutorial can help you quickly finish sensor calibration and restore accurate automatic navigation performance of your trolling motor.
 Video Link--Haibo Trolling Motor Calibrations
All Haibo iPenguin P Series models (P65/P70/P90/P120+/P125) rely on a built-in 9-axis sensor, magnetometer & multi-satellite GPS to support Bow Lock, Course Lock, Anchor Mode, Route Tracking & Go-To Waypoint. Magnetic interference, brand-new installation, re-mounting on different boats, collision, long-term use, or extreme temperature shifts will cause heading drift, severe route deviation, anchor drift over 5m, and total failure of all auto-navigation functions.
3 core calibrations available for the full P Series lineup:
1. Boat Magnetometer Calibration (Built-in motor compass, universal for all P Series models, mandatory for first launch)
2. External Magnetometer Calibration (Universal for all models; only skip this step if you do NOT equip P65 / P120+ with the optional external heading sensor)
3. Boat Heading Calibration (Universal for all models, critical for anchor & route precision; must be performed after every reinstallation)
1. Environment Requirement
o Calibrate on calm, open water; stay ≥10m away from docks, metal hull boats, anchors, tackle boxes, outboard engines, steel railings, and metal fish rod holders.
o No large metal objects within 0.6m around the thruster control head during the whole calibration process.
o Avoid rough waves, strong wind, overhead power lines, or metal tarpaulins (all cause severe electromagnetic interference and calibration failure).
2. Hardware Prep Checklist
o Fully deploy the motor shaft; ensure propeller is fully submerged underwater.
o Power on both the thruster main unit and remote controller; confirm satellite signal bar ≥2 on remote screen.
o Temporarily remove all magnetic accessories, metal fishing gear, and metal brackets near the bow mount.
o Keep the main shaft vertical; the overall tilt angle must stay below 80° (the motor locks all functions when tilted over 80°).
3. When to Re-Calibrate Your P Series Trolling Motor
o First-time installation & water test
o Reinstall the motor onto a new boat or reposition the bow mount
o After rock collision, hard impact, or long-distance transport vibration
o Persistent anchor drift, unstable heading lock, constant left/right wandering
o GPS navigation routes curve sharply, Go-To mode veers far off target waypoints
o After replacing steering assembly, sensor module, or display board
o Major seasonal temperature changes (extreme cold winter / high heat summer)
This calibration is required for every P65/P70/P90/P120+/P125 to eliminate daily compass drift and minor magnetic offset.
1. On the remote home screen, Press Menu Right Selection key to enter the global Setting page.
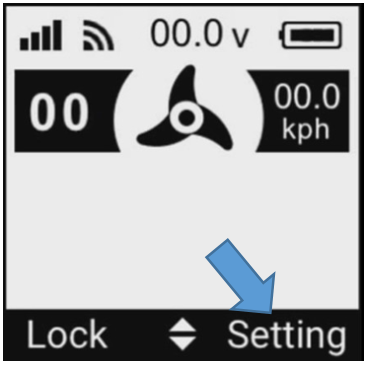
2. Scroll up/down to locate the Calibration option, press Menu Right Select to confirm and open the calibration sub-list.
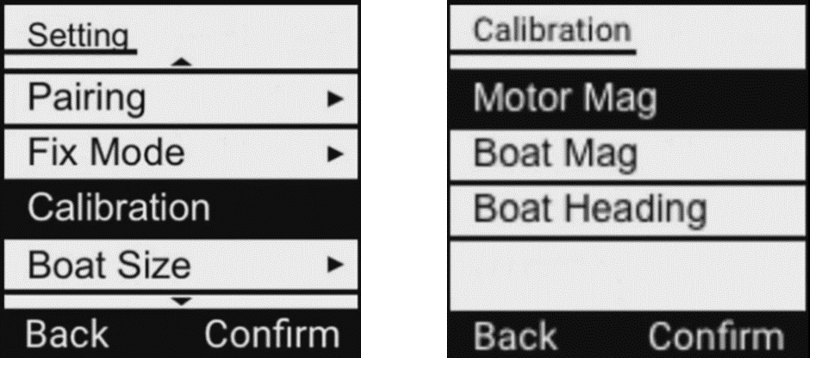
3. Select Motor Mag (Boat Magnetometer) to trigger automatic calibration.
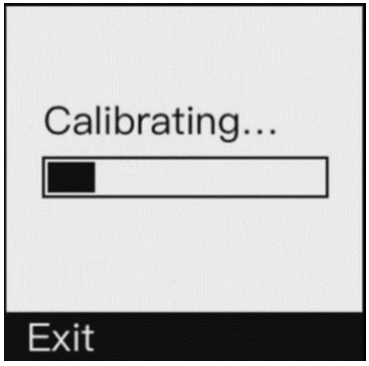
A progress bar pops up on the remote screen; the thruster runs internal sensor self-test automatically, no manual boat steering required.
Do not touch the remote or shift the boat during the full 30–60 second calibration cycle.
The screen displays a tick mark labeled Completed, then auto jumps back to the main Setting list.
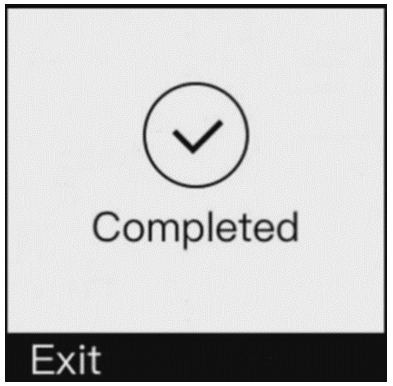
Built-in compass calibration is fully saved and active.
This calibration menu is shown on all model remotes. You only need to skip this procedure when you own P65 or P120+ without installing the optional external heading sensor.
Repeat Step 1 from Part 1 to enter the Calibration page, then select Boat Mag.
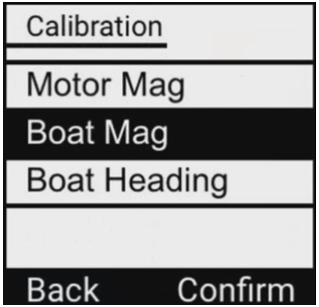
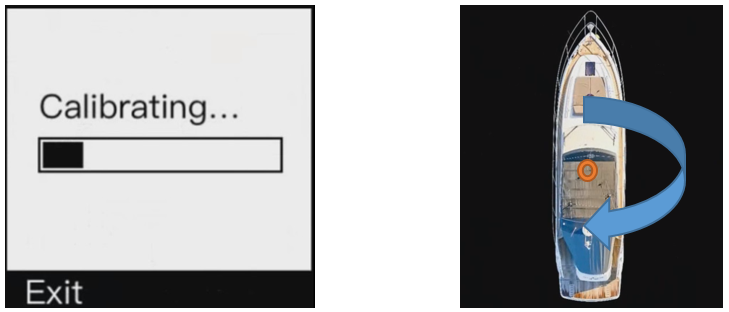
Keep the Calibrating page. Use low constant speed to drive your boat 2 full clockwise or counter-clockwise slow circles. Maintain smooth, steady speed; avoid sharp turns, sudden acceleration, or hard braking.
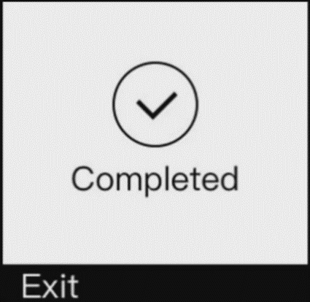
After the boat return to its original position, waiting for on-screen progress fills. Once the progress bar hits 100% and the screen shows "Completed", stop circling and save all calibration data automatically.
Universal for P65/P70/P90/P120+/P125. This core calibration aligns the motor’s steering angle perfectly with your boat’s keel centerline; inaccurate alignment is the #1 cause of anchor drift and navigation error.
1. Manually control the thruster to straight forward position.
2. Adjust the shaft mount angle to make the motor’s central axis 100% parallel to the boat’s keel (center line).
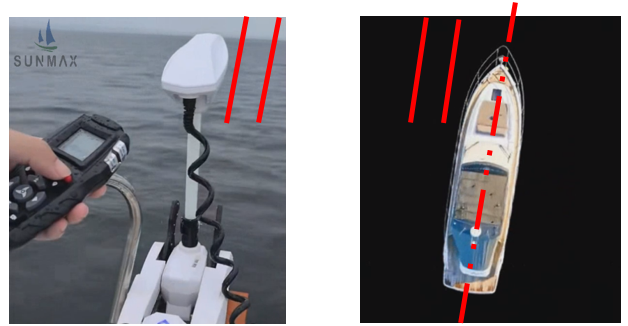
3. No left/right deflection allowed; motor nose points straight to the bow, propeller faces directly backward toward the stern.
1. Remote home screen , Press Menu Right Select to enter Settings → Calibration submenu → Select Boat Heading.
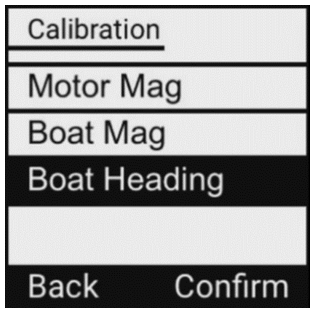
Press Menu Right Select to start automatic matching calibration. When the screen shows "Completed", the boat heading offset value is permanently saved.
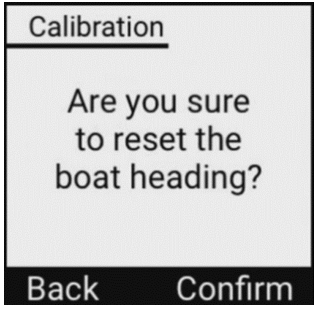
1. Activate Bow Fixed Mode: The boat holds a stable straight heading without continuous left/right drifting.
2. Activate Anchor Mode: Real-time drift distance stays under 3–5m with no repeating warning beeps.
3. Test Go-To Waypoint Mode: The motor navigates smoothly to target coordinates without obvious lateral offset.
1. Calibration progress stuck / Failed error prompt
o Move to wider open water, remove all metal tackle, anchor, and steel brackets near the thruster head.
o Power off the motor and remote, wait 5 minutes, then restart and re-run full calibration.
2. Severe heading drift right after calibration
o Re-do Boat Heading Calibration and double-check motor parallel alignment with boat keel.
o Inspect the 0.6m surrounding area of the control head for hidden steel bolts, metal mounts, or magnetic gear.
3. All GPS auto modes cannot be activated
o Check satellite signal strength; only perform calibration when signal bar ≥2.
o Clear obstructions above the motor top (no canvas, metal cover blocking the built-in GPS antenna).
4. Red error light flashes after calibration completes
o Gyroscope / accelerometer error: Re-run Boat Magnetometer Calibration again.
o Extreme magnetic field interference: Fully relocate to a new open water area and restart calibration.
1. Re-calibrate the built-in magnetometer every 3 months for regular weekly fishing trips.
2. After saltwater fishing, fully rinse the entire motor with fresh water to wash away salt crystal buildup before calibration (salt deposits distort magnetic signal readings).
3. Do not install metal rod racks, steel brackets, or heavy metal accessories within 1m of the P Series control head.
4. Complete the vessel size setting (Small/Medium/Large Fishing Boat) in the remote Setting menu after calibration, to optimize thrust balance and navigation accuracy.